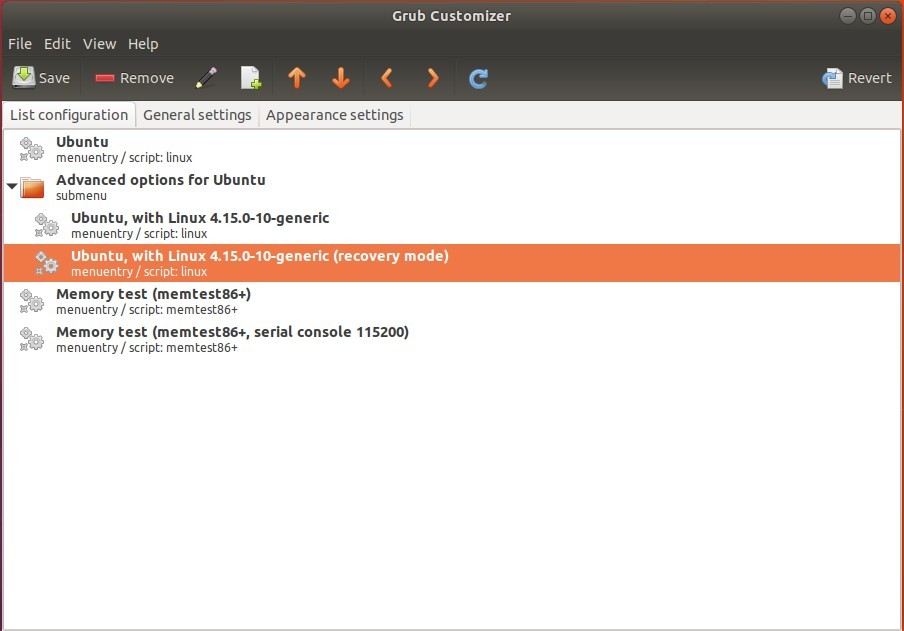
For those who need to modify the default Grub boot-loader settings, Grub Customizer is a useful tool with a graphical user interface.
With grub customizer, you can:
- Rearrange, add, remove, rename boot menu entries.
- Hide or show boot menu while starting up.
- Change the default boot entry.
- Edit kernel parameters.
- Change the time delay to boot the default entry.
- Change text colors and screen background image.
- Reinstall Grub boot-loader into Windows MBR.
Install Grub Customizer in Ubuntu
The software has an official PPA repository contains the packages for all current Ubuntu releases.
1. Open terminal either via Ctrl+Alt+T or by searching for ‘terminal’ from app launcher. When it opens, run command to add the PPA:
sudo add-apt-repository ppa:danielrichter2007/grub-customizer
Input your password (no visual feedback while typing) when it prompts and hit Enter to continue.

2. After added the PPA, run commands one by one to refresh package cache and install Grub Customizer:
sudo apt-get update
sudo apt-get install grub-customizer
Once installed, launch the software from your application launcher and enjoy!
Uninstall
To remove the software, run command in terminal:
sudo apt-get remove grub-customizer
And you can remove PPAs via Software & Updates utility under ‘Other Software’ tab.
source : tipsonubuntu.com