XAMPP adalah paket aplikasi server yang terdiri dari Apache, MariaDB, PHP dan Perl yang ditujukan untuk memudahkan developer dalam PHP development environment.
Dengan XAMPP, developer tidak harus lagi melakukan install aplikasi server satu per satu. Jadi XAMPP sangat tidak disarankan dipakai di production environment (server operasional).
Di artikel ini dibahas bagaimana cara install XAMPP for Linux 7.x. Teman-teman developer bisa menggunakan distro Linux 64bit apa saja seperti Debian, Ubuntu, Fedora, atau openSUSE. Tutorial ini menggunakan Linux Mint 19.1 dan XAMPP for Linux 7.3.8.
Install XAMPP for Linux 7.3
Nomor versi XAMPP mengikuti nomor versi PHP yang ada di dalamnya, seperti XAMPP 7.3 berisi PHP 7.3.
Isi dari XAMPP 7.3.8:
- Apache 2.4.39
- MariaDB 10.4.6
- PHP 7.3.8 + SQLite 2.8.17/3.29.0. + multibyte (mbstring) support
- Perl 5.16.3
- ProFTPD 1.3.6
- phpMyAdmin 4.9.0.1
- OpenSSL 1.0.2s
- Webalizer 2.23-05
- IMAP C-Client 2007e
- OpenLDAP (client) 2.4.21
- cUrl 7.45.0
Download XAMPP for Linux.
wget -c https://www.apachefriends.org/xampp-files/7.3.8/xampp-linux-x64-7.3.8-2-installer.run
Jalankan XAMPP Linux installer.chmod +x xampp-linux\*.run sudo ./xampp-linux-\*-installer.run
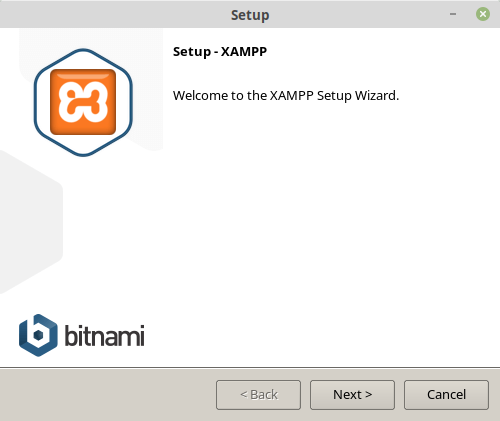
Ditampilkan XAMPP Setup Wizard. Klik Next sampai Finish. XAMPP terinstall di direktori /opt/lampp. Next.
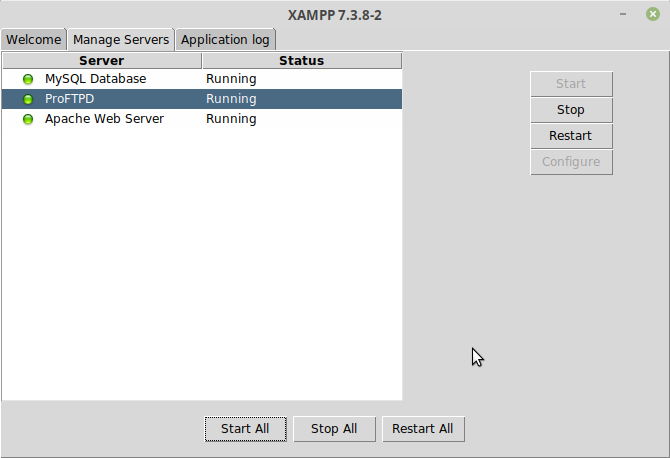
Setelah install XAMPP selesai, berjalan aplikasi GUI XAMPP Control. Klik tab Manage Servers untuk menjalankan atau menghentikan service Apache, MySQL (MariaDB), dan ProFTPD.
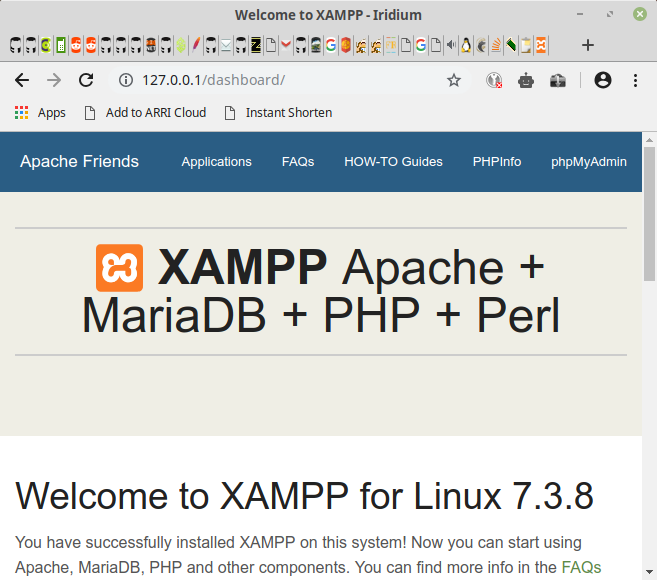
Pengujian apakah XAMPP berhasil install dan berjalan dengan baik, browsing **http://localhost**atau http://127.0.0.1. Jika tampil seperti gambar di bawah ini berarti Apache web server sudah aktif.
Browsing http://localhost/dashboard/phpinfo.php atau http://127.0.0.1/dashboard/phpinfo.php untuk menguji apakah script PHP bisa dijalankan dengan menampilkan informasi PHP seperti versi dan modul / extension PHP yang ada.

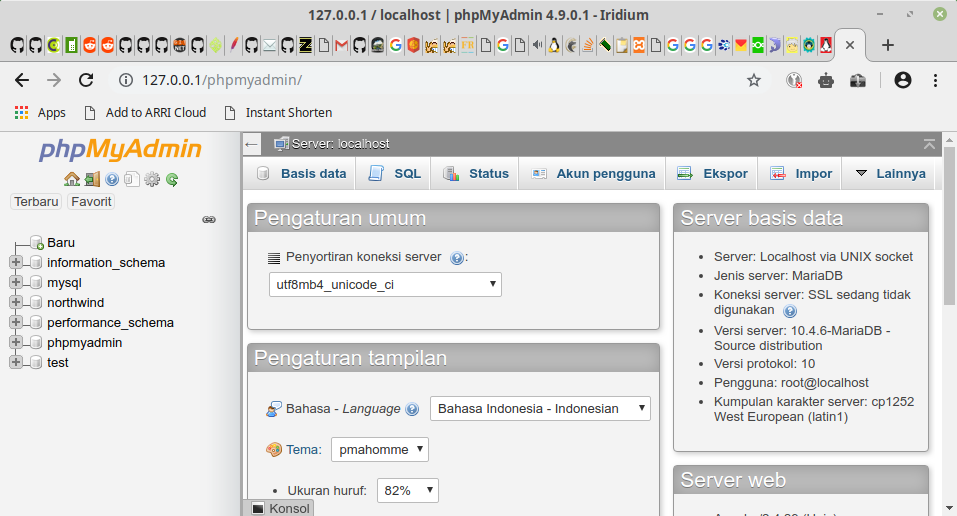
Sementara untuk menguji database MariaDB, browsing **http://localhost/phpmyadmin**atau http://127.0.0.1/phpmyadmin.
Command XAMPP
Menjalankan aplikasi GUI XAMPP Linux Manager.
|
|
Start semua service.
|
|
Restart semua service.
|
|
Stop semua service.
|
|
Command XAMPP lainnya.
|
|
XAMPP Gagal Dijalankan?
Jika XAMPP gagal dijalankan dengan pesan error already running, artinya sebelum install XAMPP sudah ada web server lain yang aktif atau sedang menggunakan nomor port 80 HTTP.
|
|
Solusinya non aktifkan service terlebih dahulu yang memakai port tersebut sebelum menjalankan XAMPP, misalnya apache2 dan mysql
|
|
Direktori dan File Penting
File konfigurasi XAMPP
- Apache configuration file: /opt/lampp/etc/httpd.conf, /opt/lampp/etc/extra/httpd-xampp.conf
- PHP configuration file: /opt/lampp/etc/php.ini
- MySQL configuration file: /opt/lampp/etc/my.cnf
- ProFTPD configuration file: /opt/lampp/etc/proftpd.conf
Direktori penting XAMPP
- Direktori Document Root: /opt/lampp/htdocs
- Direktori database: /opt/lampp/var/mysql
- Direktori konfigurasi: /opt/lampp/etc
Direktori htdocs dimiliki oleh root dan hanya bisa dimodifikasi (tambah, ubah, hapus) oleh root. Agar lebih mudah mengakses dan memodifikasi direktori dalam htdocs untuk project website, direktori project website harus diubah kepemilikannya dari root menjadi user yang kita gunakan.
|
|
ganti $USER dengan user yang kita gunakan.
Konfigurasi Shortcut
Saat instalasi xampp di linux, shortcut di menu tidak terpasang secara otomatis. Sehingga untuk menjalankan xampp kita harus menggunakan terminal yang tentu saja tidak praktis. Akan lebih praktis jika menjalankanya lewat shortcut di menu.
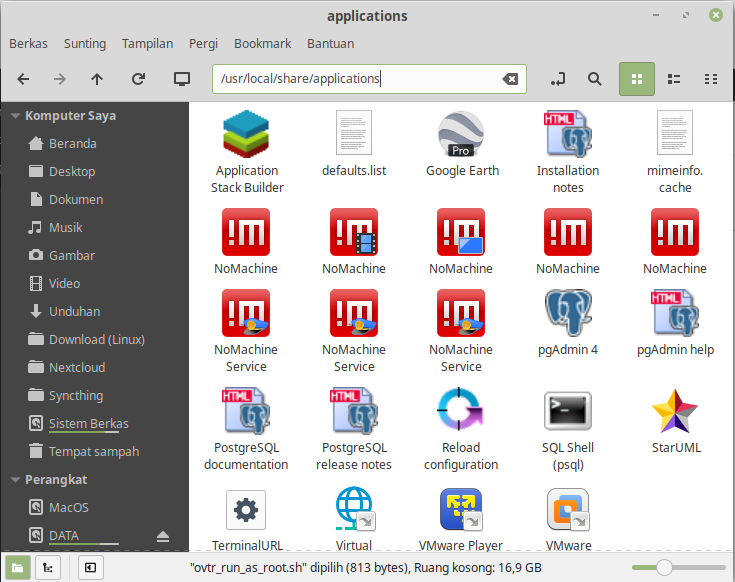
- Masuk ke folder /usr/local/share sebagai root
- Buat file baru
- Buka file tersebut denga text editor (gedit, LeafPad, Notepad, dll)
- Tuliskan code dibawah ini:
#!/usr/bin/env xdg-open
[Desktop Entry]
Version=1.0
Type=Application
Terminal=false
Icon[en_US]=/opt/lampp/htdocs/favicon.ico
Name[en_US]=XAMPP
Exec=gksu /opt/lampp/manager-linux-x64.run
Comment[en_US]=Start XAMPP Control Panel
Name=XAMPP
Comment=Start XAMPP Control Panel
Icon=/opt/lampp/htdocs/favicon.ico
Categories=Application;Development
- Save dan beri nama file tersebut dengan Xampp.desktop
- Sekarang shortcut xampp sudah muncul di menu

Konfigurasi Virtual Hosts
Secara default untuk mengakses project website yang berada di direktori webku.com, kita browsing http://localhost/webku.com.
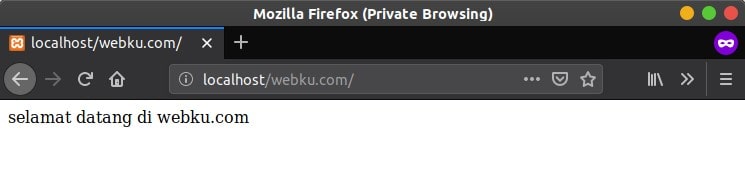
URL akses tersebut bisa diubah menjadi http://webku.com dengan cara melakukan konfigurasi Virtual Hosts Apache dan file hosts di system.
Buka file konfigurasi Apache httpd.conf.
sudo gedit /opt/lampp/etc/httpd.conf
Cari # Virtual hosts, lalu lepas tanda komentar # di baris opsi httpd-vhosts.conf.
|
|

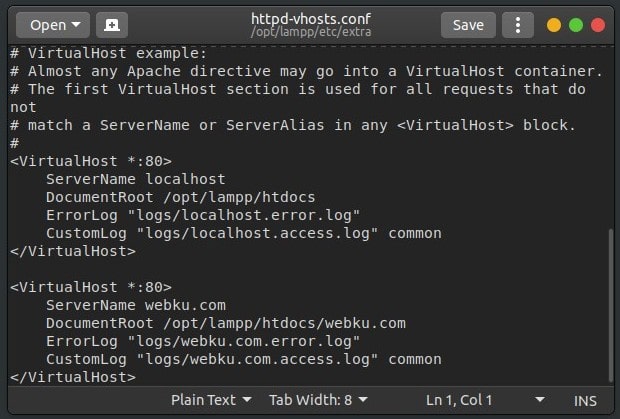
Selanjutnya buka file konfigurasi virtual hosts httpd-vhosts.conf.
sudo gedit /opt/lampp/etc/extra/httpd-vhosts.conf
Menuju ke baris paling bawah, terdapat 2 contoh konfigurasi virtual hosts, hapus saja. Tambahkan konfigurasi virtual host untuk webku.com dan localhost.
|
|
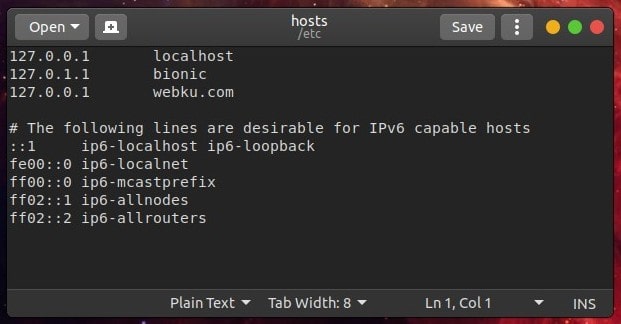
Kemudian selanjutnya buka file /etc/hosts untuk memasukkan servername webku.com.
sudo gedit /etc/hosts
Tambahkan.
127.0.0.1 webku.com
Reload apache.
|
|
Terakhir pengujian akses, browsing http://webku.com.
Keamanan XAMPP
Secara default XAMPP tidak ada password. Kita dapat memberikan passsword dengan mudah melalui command security.
|
|
Selamat mencoba.
Sumber :